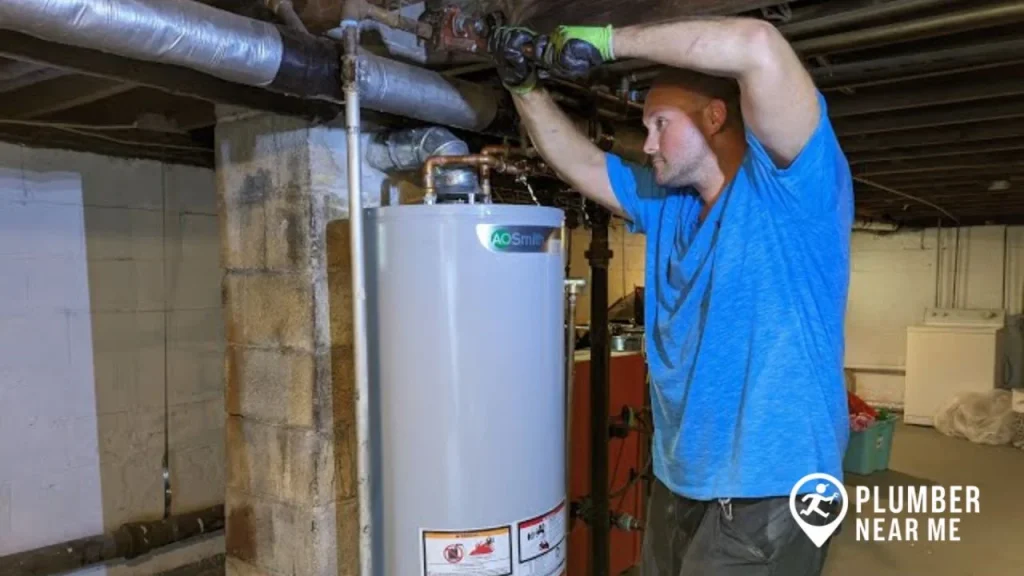
A water heater is one of the most important appliances in any home, but many homeowners overlook a common issue: corroded water heater fittings. If you’ve noticed rust, leaks, or water heater corrosion on top, chances are the fittings and connections need urgent attention. Ignoring this problem can lead to leaks, water damage, and even the failure of the entire unit. You May Also Like: How to Replace a Single Handle Shower Faucet.
👉 Looking for expert plumbing help? Visit Plumber Near Me for professional water heater repair and installation services.
Why Water Heater Fittings Corrode
Corrosion on water heater connections is usually caused by a chemical reaction between water, oxygen, and metal. Over time, this weakens the fittings and allows rust to form. Some common causes include:
- Hard water with high mineral content.
- Electrolysis, when dissimilar metals touch in the plumbing system.
- Age of the water heater—older systems are more prone to corrosion.
- Lack of maintenance, such as not flushing the tank regularly.
When corrosion appears at the top of the water heater, it’s usually around the cold-water inlet or hot-water outlet fittings. These are the most common failure points.
Signs of Corroded Water Heater Fittings
Before water heater corrosion causes serious leaks, look out for these warning signs:
- Rusty or discolored hot water.
- Moisture or water pooling near the top of the tank.
- Reduced hot water pressure.
- Visible rust on fittings or pipes.
If you notice any of these, it’s time to replace the fittings before the problem spreads.
Tools and Materials You’ll Need
To replace damaged water heater fittings, gather the following:
- Bucket
- Pipe wrench or pliers
- Emery cloth or sandpaper
- Close-quarters tubing cutter
- Teflon tape
- New threaded fittings (brass or dielectric recommended)
- Short copper pipe (if needed)
- Propane torch (for soldering copper connections)
Step-by-Step: Replacing Corroded Water Heater Fittings
1. Shut Off Power and Water
- For electric heaters, turn off the breaker.
- For gas heaters, shut off the gas valve.
- Close the cold-water shutoff valve on top of the tank.
- Open a hot water faucet to release pressure.
2. Drain the Tank Slightly
Place a bucket under the drain valve at the bottom of the heater. Drain just enough water so the level is below the fitting you’re replacing.
3. Remove the Old Fitting
- Clean the supply pipe with an emery cloth.
- Use a tubing cutter to cut if necessary.
- With a wrench, unscrew the corroded fitting from the top of the heater. Be careful—it may be brittle.
4. Install the New Fitting
- Wrap Teflon tape around the new fitting’s threads.
- Screw it tightly into the tank opening.
- If you’re connecting copper, solder a short piece of pipe to the fitting first, then connect it to your supply line with a coupling.
5. Reconnect and Test
- Turn the cold-water valve back on.
- Let the tank fill completely.
- Inspect all connections for leaks.
- Restore power or relight the gas burner.
Preventing Future Corrosion
Replacing a fitting is only part of the solution. To avoid repeat problems, follow these maintenance tips:
1. Install Dielectric Unions
When copper and steel pipes touch, electrolysis speeds up corrosion. Dielectric unions prevent this by separating dissimilar metals.
2. Check the Anode Rod
The anode rod protects the tank from rust by corroding first. If it’s worn down, replace it.
3. Flush the Tank Annually
Sediment buildup at the bottom of the tank can accelerate corrosion. Flushing removes this and improves efficiency.
4. Use a Water Softener or Filter
Hard water is a major cause of corrosion on water heater connections. A softener or filter helps extend your system’s life.
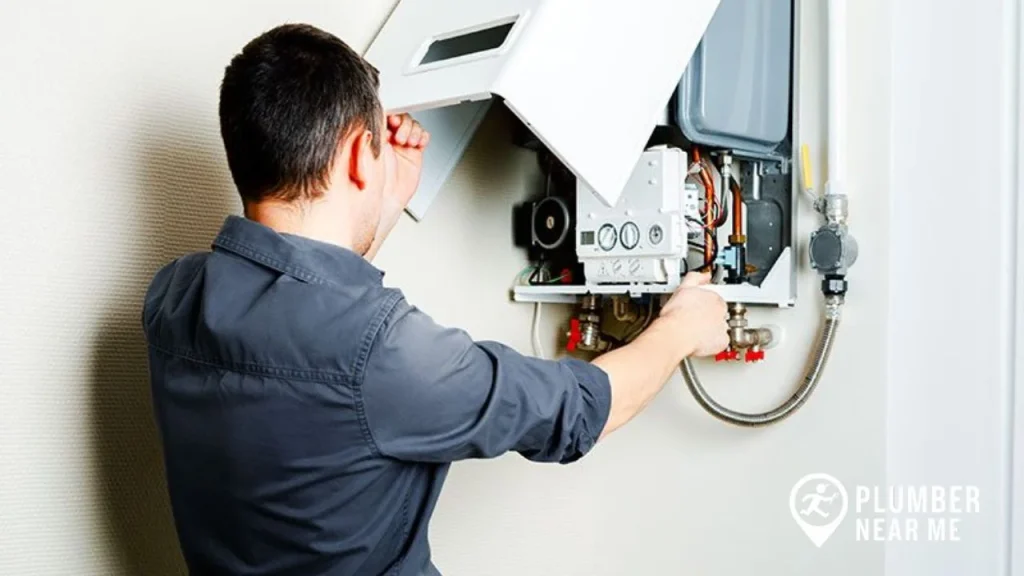
When to Call a Professional
While many homeowners can replace water heater fittings themselves, you may need a plumber if:
- The corrosion has spread beyond the fittings.
- You find leaks at multiple points.
- The tank itself shows rusting or cracking.
- You’re uncomfortable soldering or working with gas lines.
In some cases, if the water heater is very old, replacement may be more cost-effective than repeated repairs.
FAQs About Water Heater Fittings
How do I know if my water heater fittings are bad?
Look for rust, discoloration, leaks, or reduced water pressure. These are clear signs of corroded fittings.
Can I just seal a leaking fitting instead of replacing it?
Temporary sealants may work briefly, but they won’t stop corrosion. Replacement is the only long-term solution.
Why is there corrosion only on top of my water heater?
Because the cold and hot water connections are at the top, they’re the most exposed to oxygen and minerals, making them prime spots for corrosion.
How often should I check my fittings?
Inspect them at least once a year, ideally when flushing your tank or doing other maintenance.
Final Thoughts
Dealing with water heater corrosion on top can feel overwhelming, but with the right tools and a little time, you can replace corroded fittings and keep your system running smoothly. Preventive steps—like checking the anode rod, flushing the tank, and installing dielectric unions—will help you avoid bigger, more expensive problems in the future.
If your water heater is older than 10–12 years or showing multiple signs of failure, it might be time to consider a full replacement rather than frequent repairs.
👉 Need professional plumbing support? Visit Plumber Near Me today for reliable water heater fitting repairs, corrosion prevention, and expert plumbing services.