Dealing with a leaky or malfunctioning shower faucet? Learning how to replace a single handle shower faucet is a valuable DIY skill that can save you money, prevent water waste, and restore proper water flow in your bathroom. You May Also Like: Radiator Whistling.
Whether you’re tackling a dripping faucet, temperature issues, or upgrading old plumbing, this guide will walk you through everything you need to know. We’ll also cover how to replace a single handle shower valve, what tools you’ll need, and tips for avoiding common mistakes. visit PlumberNearMe.
Why Replace a Shower Valve?
Over time, the cartridge and internal components inside a single handle shower faucet can wear down. Common signs it’s time for a replacement include:
- Inconsistent hot and cold water temperature
- Constant dripping even when the faucet is off
- Reduced water pressure
- Visible leaks around the handle or wall plate
Instead of replacing the entire shower system, a single handle shower valve replacement usually solves the problem quickly.
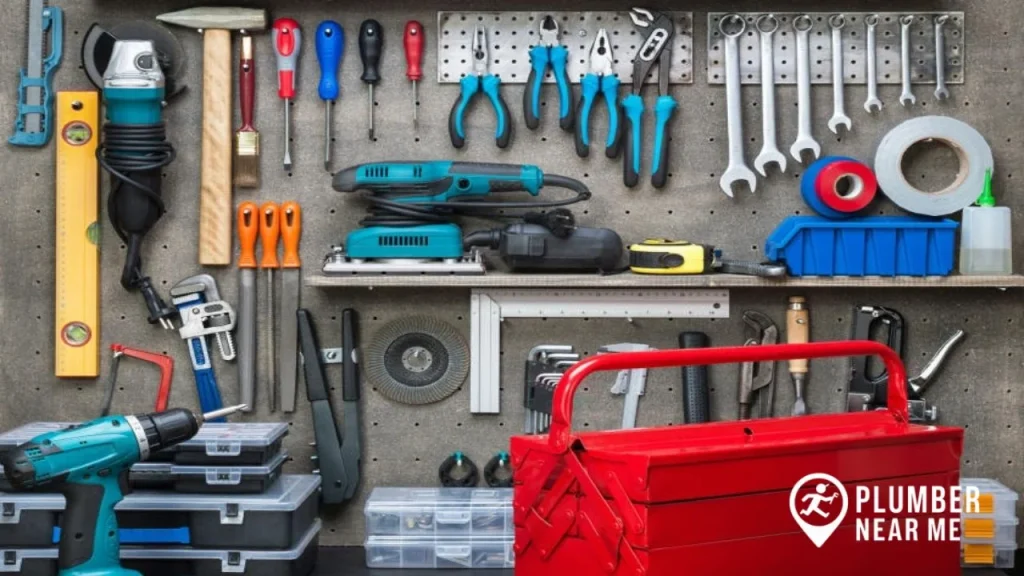
Tools and Materials You’ll Need
Before starting, gather these essentials:
- Flathead and Phillips screwdriver
- Adjustable wrench or pliers
- Replacement cartridge or valve kit (with O-rings & washers)
- Cartridge puller tool (if needed)
- Plumber’s grease
- Towels or rag
- Bucket (to catch excess water)
Pro Tip: Always buy the replacement cartridge or valve designed for your faucet’s brand and model to ensure proper fit.
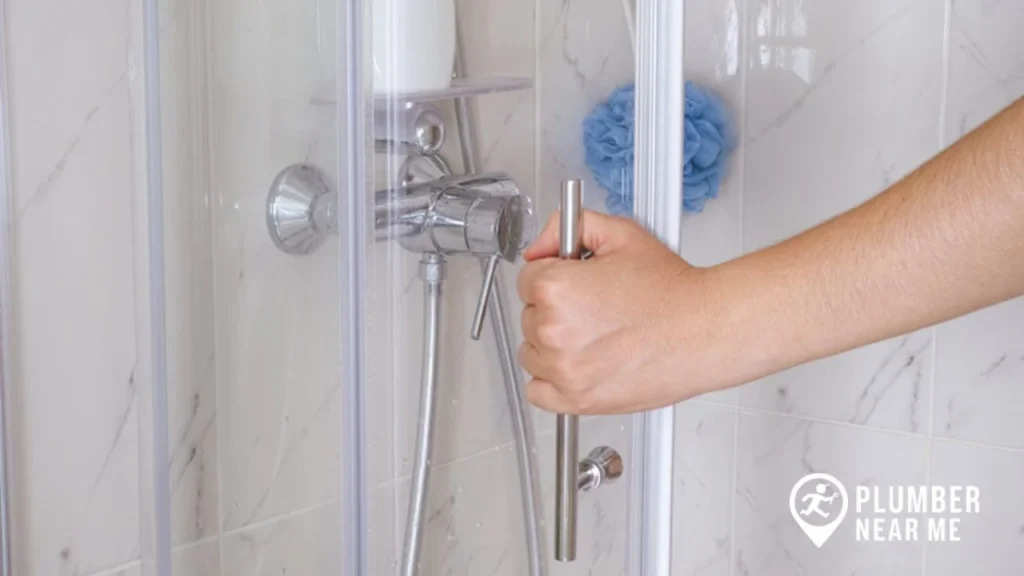
Step 1: Prepare the Shower for Valve Replacement
- Shut off the water supply to your shower (main shut-off or local valve).
- Turn the faucet handle on to release leftover water and pressure.
- Place a towel or rag in the tub/shower and cover the drain to prevent losing screws or small parts.
- Remove the shower handle by unscrewing it and pulling it away from the wall.
- Detach the escutcheon plate (decorative cover) to access the valve body.
Step 2: Remove the Old Cartridge or Valve
- Locate the retaining clip or nut that holds the cartridge in place.
- Use pliers or a wrench to carefully remove it.
- Gently pull the old cartridge straight out. If it’s stuck due to mineral buildup, use a cartridge puller tool.
- Inspect the valve body for damage, corrosion, or debris.
If the valve body itself is damaged, you may need to replace the single handle shower valve instead of just the cartridge.
Step 3: Install the New Cartridge or Valve
- Clean the inside of the valve body with a rag.
- Apply plumber’s grease to the O-rings on the new cartridge.
- Align the hot and cold sides correctly before inserting.
- Push the cartridge firmly into place.
- Reinstall the retaining clip or nut to secure it.
👉 If you’re doing a full single handle shower valve replacement, follow the manufacturer’s instructions for soldering or connecting the new valve.
Step 4: Reassemble the Faucet
- Reattach the escutcheon plate and secure it with screws.
- Install the faucet handle back onto the stem.
- Tighten everything properly but avoid overtightening to prevent cracks.
Step 5: Test the New Faucet
- Slowly turn the water supply back on.
- Check for leaks around the handle and wall plate.
- Test hot and cold water to ensure proper mixing.
- Adjust the temperature limit stop (if available) to prevent scalding.
This final step ensures your faucet is safe and working smoothly.
Troubleshooting After Replacement
Even after installing a new valve or cartridge, you may run into issues:
- Leaks → Recheck O-rings and make sure connections are tight.
- Temperature problems → Cartridge may be misaligned. Remove and reinstall.
- Low water pressure → Check for debris in the cartridge or showerhead.
If problems persist, you may need to fully replace the shower handle without replacing the valve (if only the handle mechanism is worn).
Shower Valve Maintenance Tips
- Clean showerheads and faucet parts regularly to reduce mineral buildup.
- Avoid harsh chemicals; use vinegar or mild cleaners.
- Check for small leaks during routine cleaning.
- Replace worn washers and O-rings as needed.
When to Call a Professional
DIY replacement works for most homeowners, but call a licensed plumber if:
- The valve body is severely corroded or damaged.
- You have an older plumbing setup that requires soldering.
- You’re unsure about shutting off or restarting water lines.
Sometimes professional single handle shower valve replacement saves time and prevents mistakes.
FAQs About Shower Valve Replacement
1. How long does it take to replace a single handle shower faucet?
Typically 30–60 minutes for a cartridge swap. A full valve replacement may take longer.
2. Do I need special tools to replace a single handle shower valve?
Basic tools work for cartridges, but a cartridge puller or plumber’s wrench may be needed for stubborn parts.
3. Can I replace the shower handle without replacing the valve?
Yes, if only the handle is damaged. Just ensure the new handle matches your valve’s brand and model.
4. Why does my new shower valve still leak?
Leaks usually happen if O-rings aren’t seated correctly or if the cartridge isn’t aligned.
5. How much does a shower valve replacement cost?
DIY replacement costs around $60–$100. Hiring a professional may cost $200–$400 depending on complexity.
Conclusion
Knowing how to replace a single handle shower faucet is a simple but useful DIY project. By following the right steps, you can fix leaks, improve water flow, and save money on repairs.
Whether you’re doing a quick single handle shower valve replacement or learning how to replace a shower handle without replacing the valve, the process is manageable with the right tools and patience. visit PlumberNearMe