
When setting up a new washing machine, it’s not just about plugging it in. A proper washer hookup ensures your appliance runs smoothly, avoids leaks, and prevents costly water damage in the future. Whether you’re replacing an old unit or installing a brand-new washer, understanding washer water hook up is key to a safe and long-lasting setup. You May Also Like: Water Heater Fittings.
👉 Need professional plumbing help? Visit Plumber Near Me for reliable washer hookup and installation services near you.
Tools and Materials You’ll Need
Before you begin, gather the right tools so your project runs smoothly:
- Adjustable wrench
- Screwdriver
- Tubing cutter
- Propane torch (for copper pipes, if needed)
- Pliers
- Level
- High-quality braided stainless-steel water hoses
- Drain hose and clamp
Preparing the Laundry Space
Clear out the area around your washer before starting. If you’re replacing an old machine:
- Unplug the washer.
- Shut off the water supply valves.
- Move the washer out carefully to access the plumbing connections.
This ensures you’ll have enough room to work and reduces the risk of accidents.
Building a Support Panel (Optional but Recommended)
If your hookups are exposed, you can build a small support panel:
- Use wood studs to create a sturdy frame.
- Attach plywood on top for a smooth surface.
- Mount your plumbing fixtures (valves and pipes) on this panel.
This makes your installation neater and protects your plumbing from damage.
Installing Washer Water Supply Lines
1. Running Water Pipes
If you’re installing new lines:
- Shut off the main water supply.
- Cut copper or PEX pipes to the right length.
- Clean, fit, and solder (for copper) or crimp (for PEX).
- Ensure you have one hot water line and one cold water line.
2. Installing Washer Valves
The valves control water flow to your washer.
- Connect the hot and cold water valves securely.
- Use Teflon tape on threaded joints to prevent leaks.
- Keep the valves in the OFF position until you’re ready to test.
Connecting the Washing Machine
Attaching the Water Hoses
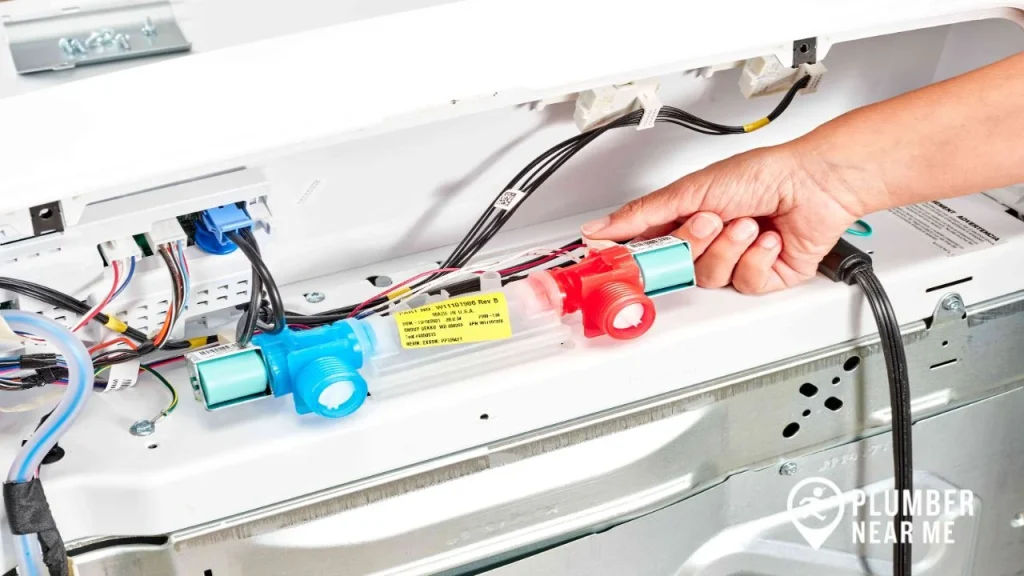
- Connect the red hose to the hot valve and washer’s hot inlet.
- Connect the blue hose to the cold valve and washer’s cold inlet.
- Hand-tighten, then give a small turn with pliers.
👉 Pro Tip: Use braided stainless-steel hoses instead of rubber ones. They’re stronger and last longer.
Setting the Drain Hose
- Insert the washer’s drain hose into the standpipe (4–6 inches deep).
- Secure it with a clamp or zip tie.
- Make sure it’s not inserted too far to avoid siphoning issues.
Testing the Washer Hookup
Checking for Leaks
- Slowly turn on the hot and cold water valves.
- Inspect all hose and pipe connections.
- If you see drips, tighten connections slightly.
Running a Test Cycle
- Plug in the washer.
- Run a short cycle without laundry.
- Check for noises, vibrations, and water drainage.
- Inspect the area for any water leaks after the cycle finishes.
Maintenance Tips to Avoid Future Problems
- Always turn off washer water valves if you’ll be away for long.
- Replace hoses every 5–7 years.
- Consider using a drain pan under the washer to prevent damage from unexpected leaks.
FAQs About Washer Hookup
How do I hook up a washer for the first time?
You’ll need to connect hot and cold water hoses to the supply valves, insert the drain hose into a standpipe, and plug in the machine before running a test cycle.
Can I hook up a washer myself?
Yes, if you have basic DIY plumbing skills. However, if you’re unsure about soldering pipes or dealing with old plumbing, it’s best to hire a professional.
How far should a washing machine drain hose go into the standpipe?
Insert the drain hose about 4–6 inches. Too deep can cause siphoning; too shallow may lead to leaks.
Why is my washer leaking during the hookup test?
Leaks usually come from loose hose connections or damaged washers. Re-tighten fittings and use Teflon tape if necessary.
📝 Final Thoughts on Washer Hookup
Setting up a washer hookup may look intimidating at first, but with the right tools, materials, and guidance, it’s a manageable DIY project. From attaching water supply hoses to positioning the drain line, every step plays a role in ensuring your washing machine works efficiently without leaks or damage.
If you’re confident with basic plumbing, you can handle the process yourself. But if your home has older pipes, tricky water connections, or if you simply want peace of mind, calling a professional is always a smart choice.
Remember, a properly installed washer saves you from unexpected floods, water damage, and costly repairs. Regularly inspect your hoses, valves, and drain connections to keep everything running smoothly.
👉 For expert washer hookup services and plumbing solutions, visit Plumber Near Me today and get reliable help at your doorstep.


