
“DIY Shower Repair Tips Every Homeowner Should Know”
A malfunctioning shower can be a frustrating experience, disrupting your daily routine. Whether you’re dealing with a low-pressure spray, leaks, or drainage issues, understanding basic plumbing fixes can save you time and money. This comprehensive guide will walk you through common shower problems and provide step-by-step instructions to address them effectively. If at any point you feel overwhelmed, don’t hesitate to contact a licensed plumber near me for professional assistance. You May Also like: seattle plumbing hourly rates vary based on experience.
Identifying Common Shower Problems
Before diving into repair steps, it’s essential to diagnose the issue correctly. Here are some of the most common shower problems:
1. Poor Water Pressure
-
- Low spray or weak flow
-
- Clog in the showerhead or pipes
2. Dripping or Leaking Showerhead
-
- Continuous dripping even when turned off
-
- Increased water bill
3. No Hot Water
-
- Cold water persists
-
- Possible water heater issues
4. Drainage Problems
-
- Water draining slowly or backing up
-
- Clogged drain
5. Faulty Shower Valve
-
- Inconsistent temperature control
-
- Difficulty switching between hot and cold
Tools and Materials Needed
To fix common shower issues, gather the following tools and materials:
-
- Adjustable wrench
-
- Screwdrivers (Phillips and flat-head)
-
- Plumber’s tape (Teflon tape)
-
- Replacement showerhead or parts
-
- Plumber’s putty
-
- Bucket or container
-
- Cloth or rag
-
- Pipe wrench (if needed)
-
- Vinegar and baking soda (for cleaning)
-
- Replacement valve cartridges (if applicable)
Step-by-Step Repair Guide
Step 1: Turn Off the Water Supply
Always turn off the water before starting any repairs to prevent water damage or further leaks.
-
- Locate your shut-off valve—usually found under the sink or behind access panels.
-
- Turn it clockwise to close.
-
- Open the shower tap to drain any remaining water in pipes.
Step 2: Diagnose and Identify the Issue
-
- Test the spray to see if the problem is with the showerhead or diverter.
-
- Remove the showerhead to inspect for mineral buildup or clogging.
-
- Check the valve for leaks or damaged parts.
-
- If water isn’t hot, verify your water heater status.
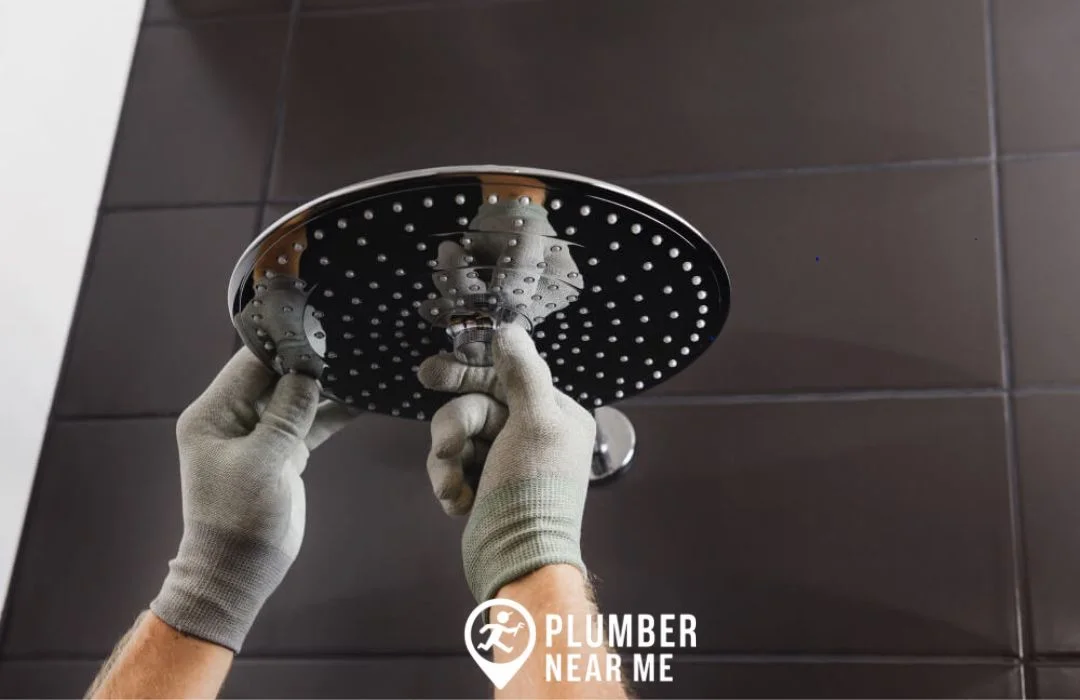
Step 3: Clean or Replace the Showerhead
Clogged or mineral-deposited showerheads reduce water flow.
-
- Use an adjustable wrench to unscrew the showerhead.
-
- Soak it in vinegar overnight to remove deposits.
-
- Scrub with an old toothbrush to clear out debris.
-
- Rinse thoroughly and reattach.
Tip: Use plumber’s tape on the threads to ensure a tight, leak-free seal.
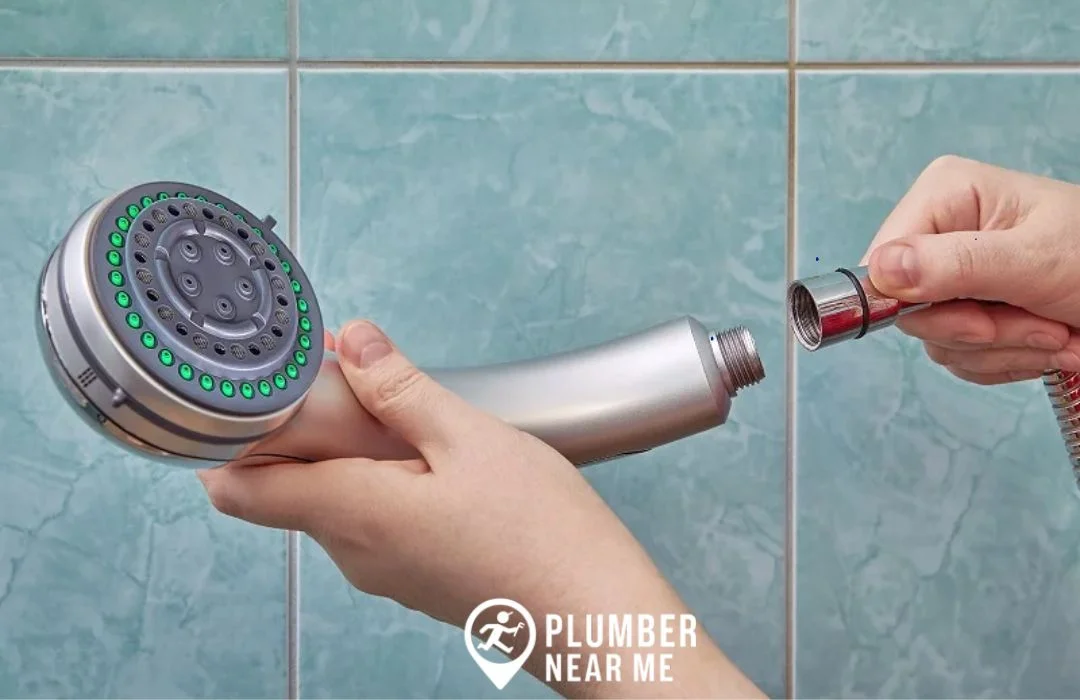
Step 4: Fix a Leaking Showerhead
-
- Remove the showerhead.
-
- Inspect the rubber washer and replace if damaged.
-
- Wrap new plumber’s tape around the threads.
-
- Reinstall the showerhead securely.
Step 5: Address Low Water Pressure
Possible causes: clogged aerator or pipe obstruction.
-
- Remove the aerator (bottom of showerhead).
-
- Soak in vinegar to dissolve mineral buildup.
-
- Clean with a brush.
-
- Reinstall and test water flow.
Step 6: Repair or Replace Faulty Shower Valve
The valve controls water temperature and flow.
-
- Remove the handle using a screwdriver.
-
- Extract the cartridge or valve stem.
-
- Check for damage, mineral deposits, or worn-out parts.
-
- Replace the cartridge if needed.
-
- Reassemble carefully.
Step 7: Fix Drainage Issues
Slow draining indicates a clog.
-
- Remove the drain cover.
-
- Use a drain snake or plumber’s auger to clear debris.
-
- Pour a mixture of baking soda and vinegar down the drain, let it sit, then flush with hot water.
-
- Reinstall the drain cover.
Step 8: Address No Hot Water
-
- Check your water heater for functioning.
-
- Ensure thermostats are set correctly.
-
- Flush sediment buildup if necessary.
-
- If problems persist, contact a water heater repair near me.
Additional Tips for DIY Shower Repairs
-
- Regular maintenance prolongs the life of your plumbing.
-
- Use quality parts from reputable brands.
-
- Always follow manufacturer instructions for replacements.
-
- When in doubt, consult a plumber in my area for professional advice.
When to Call a Professional
While many shower repairs can be handled DIY, some situations require a licensed professional, especially:
-
- Major leaks or pipe bursts
-
- Water heater issues
-
- Sewer line problems
-
- Severe valve or fixture damage
In such cases, you can find a local plumber or an emergency plumber near me to handle the repair efficiently.
Conclusion
Fixing your shower doesn’t always require a professional, but having a basic understanding of plumbing repairs can help you troubleshoot issues quickly and save money. Always prioritize safety by turning off the water supply before starting repairs. Regular maintenance, such as cleaning the showerhead and inspecting valves, can prevent most problems.
Remember, if problems persist or seem complex, it’s best to contact a licensed plumber near me like Plumber Near Me for reliable and efficient service. Whether you need a drain cleaning, leak repair, or water heater repair, professional plumbers have the tools and expertise to solve your plumbing issues effectively.
FAQs
Q1: How do I know if my shower needs a new valve?
A: If you experience inconsistent water temperature, difficulty turning the valve, or leaks around the handle, it may be time to replace the valve. A licensed plumber can confirm this.
Q2: Can I fix a leaking showerhead myself?
A: Yes, often replacing the rubber washer, cleaning mineral deposits, and applying plumber’s tape fixes the leak. However, persistent leaks may require professional attention.
Q3: Why is my shower water pressure so low?
A: Common reasons include clogged aerators, mineral buildup, or pipe obstructions. Cleaning or replacing affected parts usually resolves this.
Q4: How often should I clean my showerhead?
A: It’s recommended to clean your showerhead every 3-6 months to prevent mineral buildup and maintain optimal water flow.
Q5: When should I call a professional?
A: If you encounter complex issues like major leaks, sewer problems, or water heater malfunctions, contact a professional plumber immediately.
For reliable, affordable, and trusted plumbing services near you, consider reaching out to a licensed plumber near me. Timely repairs can prevent further damage and ensure your shower functions perfectly again.
Call Now for More Information
Shower problems like leaks, low water pressure, or worn-out fixtures can be frustrating, but with the right guidance, you can tackle them just like a professional plumber. Whether it’s resealing connections, replacing washers, or tightening fittings, the right steps can save you time and money. Call now for more information, and let us connect you with experienced plumbers who can guide you through repairs or handle the work if you’d prefer a stress-free solution.


