Upgrading your bathroom doesn’t always mean a full remodel. Sometimes, even a small change like adding a handheld shower head can make your daily routine more comfortable. If you’re wondering how to install a shower head with handheld, the good news is—it’s a quick and easy project that most homeowners can handle without calling a plumber. You May Also Like: Bathroom Faucet Replacement.
👉 Want expert help instead? Visit Plumber Near Me for professional shower head installation services.
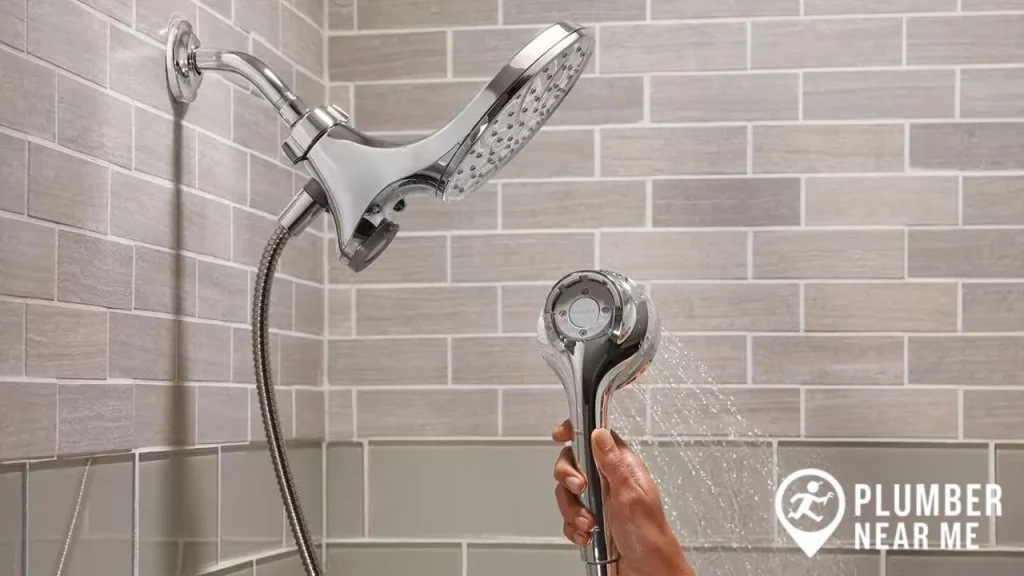
Why Choose a Handheld Shower Head?
A handheld shower head is not only more versatile but also adds comfort and convenience:
- Easier to rinse hard-to-reach areas
- Perfect for washing pets and cleaning the shower walls
- Available in multiple designs and flow settings for a spa-like experience
Tools and Materials You’ll Need
Before starting your handheld shower head installation, gather the following:
- New handheld shower head kit (includes bracket, hose, and shower head)
- Adjustable wrench or pliers
- Teflon tape (plumber’s tape)
- Soft cloth or rag (to protect fittings)
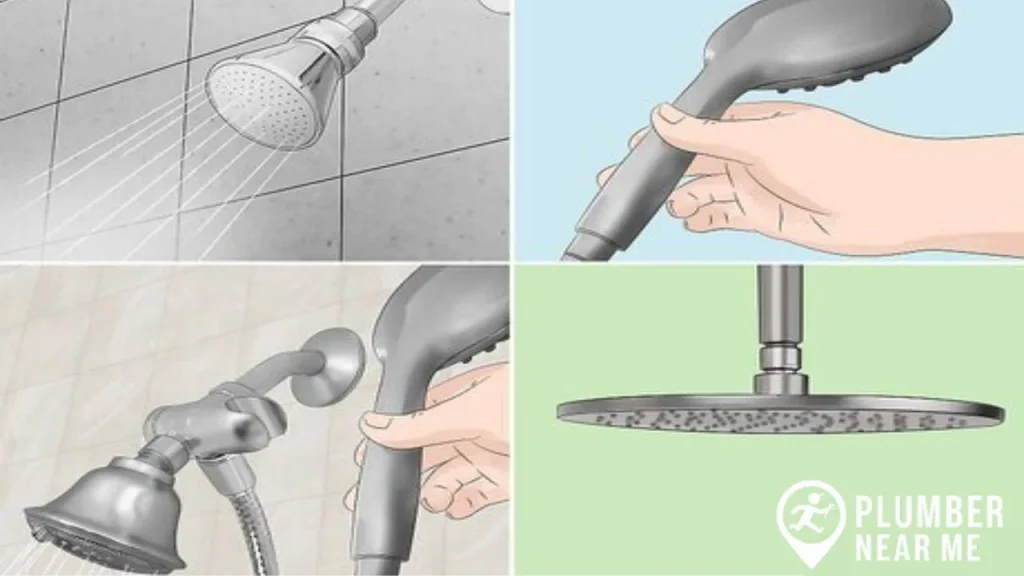
Step-by-Step: How to Install a Handheld Shower Head
1: Remove the Old Shower Head
- Turn off the water supply to avoid splashing.
- Hold the shower arm (the pipe coming out of the wall) firmly.
- Unscrew the old shower head by hand or with pliers (wrap a cloth around the fitting to prevent scratches).
- Clean the shower arm threads and remove any old Teflon tape.
2: Prepare the Shower Arm
- Wrap plumber’s tape clockwise around the threads of the shower arm (2–3 layers).
- This ensures a watertight seal and prevents leaks.
3: Attach the Mounting Bracket
- Take the new mounting bracket (the part that holds the handheld shower).
- Screw it onto the shower arm by hand until snug.
- If needed, use pliers gently to tighten—avoid overtightening.
4: Connect the Hose
- Insert the rubber washer into the hose connectors (usually included in the kit).
- Attach one end of the hose to the bracket outlet.
- Connect the other end to the handheld shower head.
- Tighten both connections by hand.
5: Test the Shower Head
- Hang the handheld shower head on the bracket.
- Turn on the water and check for leaks.
- If leaking occurs, tighten connections or add more Teflon tape.
- Adjust the angle and test different spray settings if available.
Now you know how to install handheld shower head in just a few minutes!
Extra Tips for Best Results
- Choose a hose length that suits your needs (longer hoses are great for cleaning, but avoid extra-long ones that get tangled).
- If your shower arm points downward, ensure the bracket design can hold the handheld securely.
- Consider multi-function shower heads for different spray modes (massage, rain, mist).
FAQs About Installing a Handheld Shower Head
How long does it take to replace shower head with handheld?
Most installations take 15–30 minutes.
Do I need special tools for installation?
No, usually just an adjustable wrench or pliers. Many models can be installed by hand.
Can I install a handheld shower head without removing my old one?
Yes, some dual shower systems let you keep your fixed head while adding a handheld option.
Will a handheld shower head fit my existing shower arm?
Yes, most handheld shower heads are universal and fit standard ½-inch shower arms.
Is it better to DIY or hire a plumber?
DIY works for most people, but if your shower arm is old, leaking, or damaged, call a professional.
Conclusion
Knowing how to install a shower head with handheld makes upgrading your bathroom simple and affordable. Whether you’re replacing your old fixture or just want more flexibility, this project can be completed in less than an hour.
👉 Prefer a hassle-free professional installation? Book your service at Plumber Near Me today.