Having a basement sink can be a real game-changer for homeowners. Whether you’re rinsing paintbrushes, cleaning garden tools, or handling laundry, a basement utility sink adds both convenience and functionality. While the idea of installing one may sound overwhelming, with proper planning, the right tools, and a bit of patience, you can handle it yourself. You May Also Like: Washer Hookup.
In this guide, we’ll walk you through how to install a utility sink in basement step by step, including tips on water supply, drainage, and setup. By the end, you’ll know exactly how to install a utility sink in basement safely and efficiently.
👉 Need professional help? Visit Plumber Near Me for expert installation services.
Tools and Materials You’ll Need
Before you get started, gather the following tools and supplies:
- Utility sink with faucet
- PVC pipes and fittings
- PVC primer and cement
- Copper pipes and fittings (if extending water lines)
- Tubing cutter
- Screwdrivers and pliers
- Shut-off valves
- Bucket and adjustable wrench
- Propane torch (for soldering copper)
- Safety gloves and goggles
Having everything ready before you begin will save you time and hassle during the installation.
1 Step: Plan the Location
Choosing the right spot for your basement sink is crucial. Look for:
- Proximity to existing water supply lines and drainage
- Adequate floor space
- Easy accessibility for cleaning and maintenance
- Minimal obstructions (pipes, beams, ductwork)
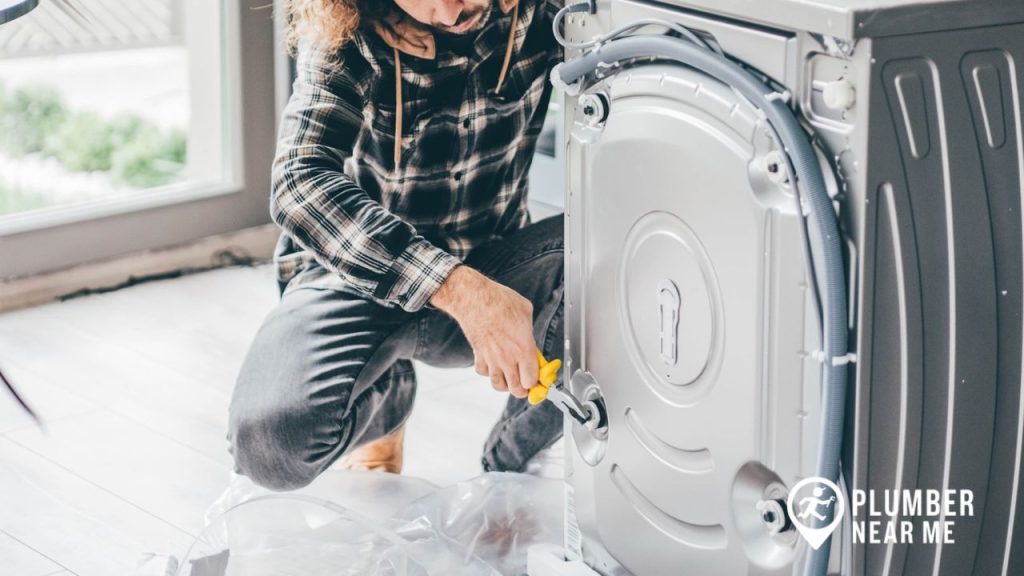
💡 Pro tip: Installing your sink near the washing machine makes plumbing connections easier since both appliances can share the drain line.
2 Step: Prepare the Drain Line
Every sink needs proper drainage. Here’s how to set it up:
- Locate the existing basement drainpipe.
- Use a PVC saw to cut into the drain where the new sink will connect.
- Clean and smooth the cut edges.
- Install a double-Y fitting so both the washing machine and the utility sink can share the same line.
- Dry-fit the pieces before using PVC primer and cement to secure them permanently.
A correctly installed drain ensures smooth water flow and prevents backups.
3 Step: Extend the Water Supply Lines
To provide hot and cold water to your new basement utility sink:
- Turn off the main water supply.
- Cut into the existing hot and cold lines with a tubing cutter.
- Install T-fittings to branch new supply lines.
- Run copper or PEX pipes toward the sink location.
- Add shut-off valves for easy future maintenance.
💡 Always label hot and cold lines clearly to avoid confusion during installation.
4 Step: Assemble and Position the Sink
- Attach the faucet to the sink per the manufacturer’s instructions.
- Install the sink drain assembly.
- Position the sink in its desired spot, ensuring it’s level and stable.
- If needed, secure the legs with brackets for extra stability.
5 Step: Connect the Plumbing
- Attach flexible supply hoses from the faucet to the extended water lines.
- Connect the sink’s drain to the PVC drain line.
- Apply PVC primer and cement on all connections to prevent leaks.
- Double-check all fittings and joints before testing.
6 Step: Test and Troubleshoot
- Slowly turn on the water supply.
- Run both hot and cold water, checking all joints for leaks.
- Fill the sink and drain it to confirm smooth drainage.
- Listen for gurgling noises—these could indicate a venting issue.
- Tighten or reseal any loose connections as needed.
Finishing Touches
Once everything works properly, consider these upgrades:
- Install a backsplash to protect walls from splashes.
- Add shelving or cabinets nearby for cleaning supplies.
- Use a rubber floor mat for comfort while standing.
- Add a sink cover for extra workspace when the sink isn’t in use.
Maintenance Tips for Your Basement Sink
To keep your basement utility sink working smoothly:
- Clean the basin regularly with mild soap and water.
- Avoid harsh drain cleaners that can damage pipes.
- Inspect supply lines and valves periodically.
- Clear debris from the drain to prevent clogs.
FAQs About Installing a Basement Sink
Q1: Do I need a plumber to install a basement sink?
Not always. If you’re comfortable working with plumbing, you can DIY. But for complex jobs or older homes, hiring a pro is safer.
Q2: Can I connect my basement sink to the washing machine drain?
Yes, many homeowners share the drain line using a double-Y fitting. Just ensure it’s properly installed to avoid clogs.
Q3: How much does it cost to install a basement utility sink?
DIY installation may cost $150–$300 for materials, while hiring a plumber can range from $500–$1,000 depending on complexity.
Q4: What’s the best sink material for a basement utility sink?
Durable options include stainless steel, heavy-duty plastic, or cast iron—depending on your budget and usage needs.
Q5: Can I install a basement sink without existing plumbing nearby?
It’s possible, but significantly harder and more expensive since new drain and supply lines must be added.
Final Thoughts
Installing a basement sink may seem challenging, but with the right preparation and tools, it’s a very doable project. From planning the layout to connecting supply and drain lines, each step is essential for a leak-free and long-lasting installation.
If you’re a confident DIYer, this project can save money while adding real value to your home. But if plumbing isn’t your strong suit—or if your basement setup is complicated—calling in a professional is always a smart investment.
👉 For professional help with basement sink installation and other plumbing services, visit Plumber Near Me and get expert solutions tailored to your home.