
Understanding Plumber’s Putty: A Versatile Sealing Solution in Plumbing
Plumber’s putty is an essential material widely recognized for its versatility and ease of use in the plumbing industry. Whether you’re a professional plumber or a DIY enthusiast, knowing how to effectively utilize plumber’s putty can significantly improve the quality of your plumbing projects. This article provides a comprehensive overview of plumber’s putty, its applications, how to use it correctly, and troubleshooting tips to ensure optimal results. You May Also like: searching for oak park plumbers choices.
What Is Plumber’s Putty?
Plumber’s putty is a malleable sealing compound designed specifically for creating watertight seals around various plumbing fixtures. It is composed of natural or synthetic clay-like materials combined with oils or waxes, giving it a pliable texture that easily adapts to any shape or surface.
Key Characteristics of Plumber’s Putty:
-
- Malleable & Flexible: Easy to shape and manipulate.
-
- Water-Resistant: Provides a reliable seal against water leakage.
-
- Removable & Reusable: Can be lifted without damaging fixtures or surfaces.
-
- Color Variations: Typically gray or white, depending on brand and formulation.
Common Applications of Plumber’s Putty
Plumber’s putty is a favorite choice for sealing in various situations, especially where a watertight seal is necessary. Some of the most common applications include:
-
-
Sealing Drain Assemblies
Used around sink drains, basin drain fittings, and shower drains to prevent leaks.
-
-
-
Faucet Installation
Ideal for sealing around faucet bases and drain fittings in sinks and basins.
-
-
-
Bowl and Sink Sealing
Creates a waterproof barrier between the sink and its countertop.
-
-
-
Repair and Replacement of Fixtures
Used during maintenance to ensure no water seeps through after fixture replacements.
-
Note: Avoid using plumber’s putty on solid plastic or acrylic surfaces as it can cause staining or damage.
How to Use Plumber’s Putty Effectively
Effectively applying plumber’s putty requires following specific steps to ensure a durable, leak-proof seal. Here’s a detailed guide on how to use it:
1. Gather Your Tools & Materials
-
- Plumber’s putty
-
- Cleaning cloth or sponge
-
- Adjustable wrench
-
- Rubber gloves (optional, for cleanliness)
-
- Sealant or additional plumber’s tape (if needed for specific fixes)
2. Prepare the Surface
-
- Clean the Surface: Remove any old putty, dirt, oil, or debris from the area where the seal will be applied.
-
- Dry the Area: Ensure the surface is completely dry to facilitate proper adhesion.
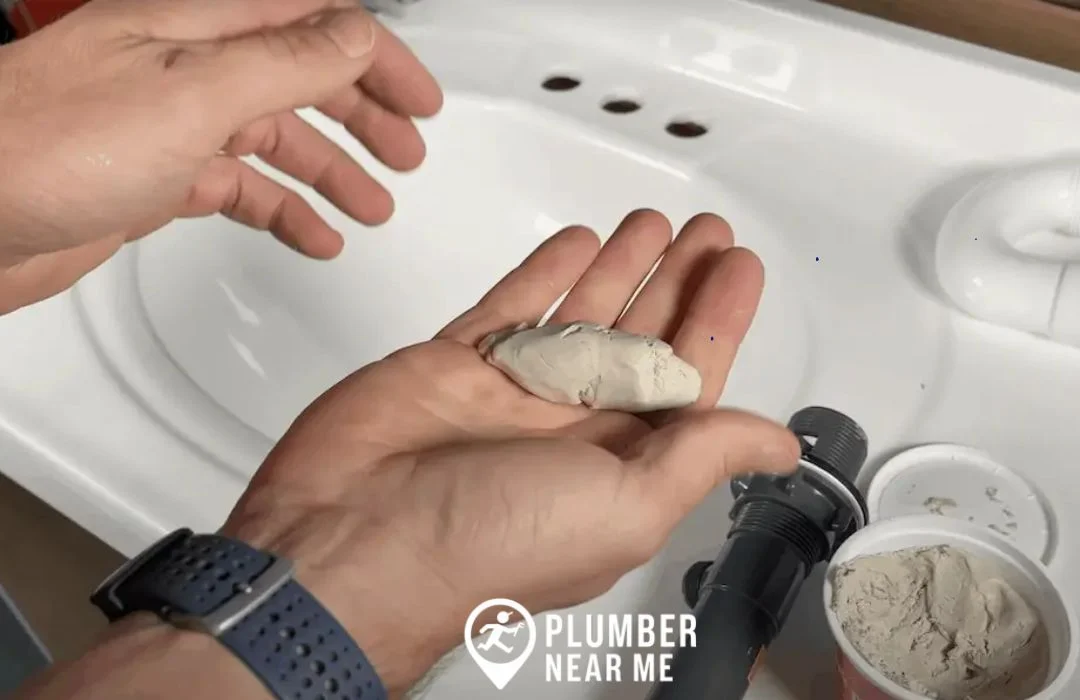
3. Take a Small Amount of Putty
-
- Roll a small, equal-sized amount of plumber’s putty into a snake-like shape or ball.
-
- The size depends on the fixture, but generally, a size similar to a golf ball is enough.
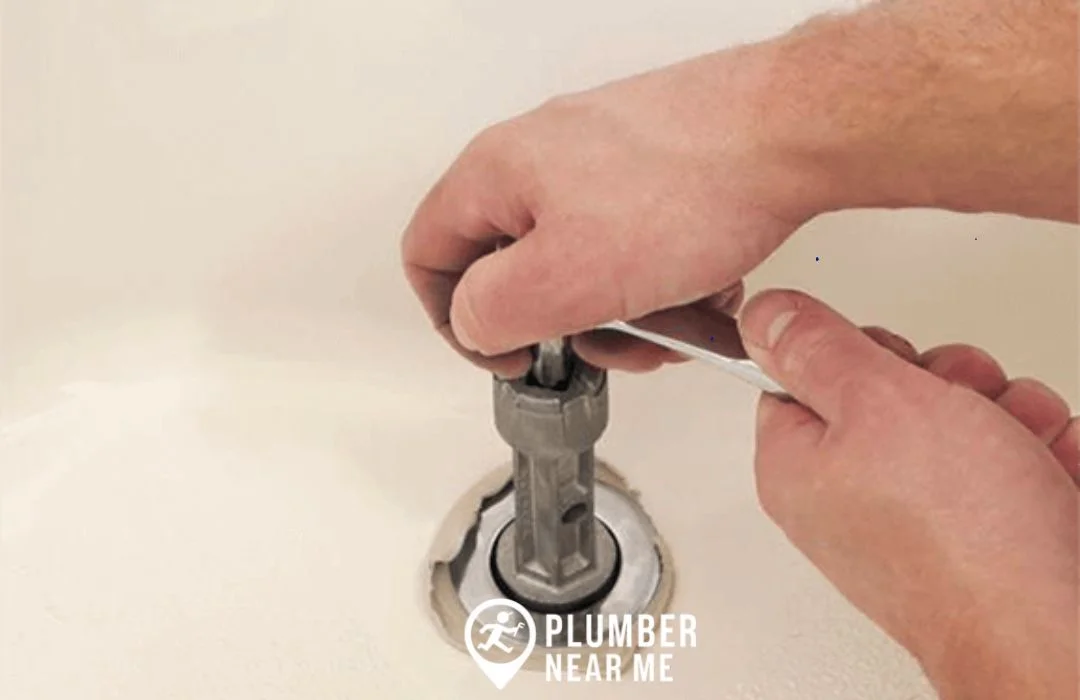
4. Apply the Putty
-
- Place the Putty: Flatten the putty into a thin ring and place it around the edge of the drain fitting or fixture.
-
- Press Firmly: Gently press the fitting into the drain opening or mounting surface, ensuring the putty spreads evenly.
5. Check the Seal
-
- After installation, wipe away any excess putty that oozes out to maintain a clean appearance.
-
- Tighten fittings as needed, but avoid overtightening, which could squeeze out too much putty or cause damage.
6. Test for Leaks
-
- Turn on the water supply and monitor the seal for signs of leaks.
-
- If leaks are observed, tighten connections slightly and reapply if necessary.
Tips for Best Results
-
- Use only a small amount of putty; excess can cause messiness and inadequate sealing.
-
- Avoid using plumber’s putty on porous or delicate surfaces like natural stone, as it may stain.
-
- For stainless steel or plastic fixtures, consider using a silicone-based sealant as an alternative.
-
- Quality matters: Choose high-quality plumber’s putty from reputable brands to ensure durability.
Safety and Storage
-
- Keep plumber’s putty away from children and pets.
-
- Store in a cool, dry place to prevent it from drying out.
-
- Do not use if the putty has become hard or cracked.
Troubleshooting Common Issues
| Issue | Possible Cause | Solution |
|---|---|---|
| Leaks after installation | Insufficient application or overtightening | Reapply putty properly, tighten fittings carefully |
| Dried or cracked putty | Exposure to air or old age | Remove old putty and reapply fresh material |
| Staining on surfaces | Excessive use or improper surfaces | Use minimally, avoid on porous surfaces |
When to Consider Alternative Products
While plumber’s putty is great for many applications, there are situations where alternative materials like silicone sealants or flanged gaskets may be more appropriate, such as on:
-
- Porous or delicate surfaces
-
- High-temperature environments
-
- Permanent, non-removable joints
Conclusion
Plumber’s putty is an indispensable, user-friendly sealing compound that plays a crucial role in preventing leaks and ensuring long-lasting plumbing fixtures. When used correctly, it provides a reliable, watertight seal for sinks, drains, and other fixtures, making it a must-have in both professional and diy plumbing tasks.
By following proper application techniques, safety tips, and troubleshooting advice, you can maximize the effectiveness of plumber’s putty and maintain your plumbing systems efficiently.
For those seeking a trusted source for plumbing needs, you might want to search for a plumber near me or explore plumbing services near me to find a licensed plumber near me who can assist with complex installations or repairs.
FAQs
Q1: Is plumber’s putty toxic?
A: Most plumber’s putty is non-toxic once cured and safe for use in household plumbing. However, always check the manufacturer’s instructions and wash your hands afterward.
Q2: Can plumber’s putty be used on plastic surfaces?
A: It depends on the plastic type. Generally, it’s recommended to avoid using plumber’s putty on soft or porous plastics as it may stain or damage the surface. Use silicone sealant if unsure.
Q3: How long does plumber’s putty last?
A: When properly applied and stored, plumber’s putty can last several years without issues. However, it should be replaced if it shows signs of cracking, shrinking, or hardening.
Q4: Can I use plumber’s putty for plumbing repairs?
A: Yes, it’s suitable for repairing leaks around fixtures, drains, and in some cases, sealing fittings. For permanent repairs or high-pressure situations, consider professional-grade sealants or consult a local plumber.
Q5: How do I remove dried plumber’s putty?
A: Use a putty knife or similar tool to gently scrape away the dried material. For stubborn residue, apply a mild solvent or warm, soapy water.
For dependable plumbing repair or installation, check out plumbernearme.work — your trusted source to find a plumber near me and get professional assistance tailored to your needs.
Remember: Proper application of plumber’s putty can save you time, money, and stress by ensuring leak-free, long-lasting plumbing fixtures. Always prioritize safety and quality for the best results.
Call Now for More Information
If you’re tackling a plumbing repair or installing new fixtures, knowing how to use plumber’s putty the right way can save you from leaks and headaches later on. This simple yet reliable sealant is a must-have for many household plumbing projects, but proper application is key. If you’re unsure or need professional help, don’t hesitate to reach out to a local plumber who can ensure the job is done correctly. Call today and get the peace of mind that comes with expert assistance.


