
“How to Detect Hidden Water Leaks Tips Every Plumber Should Know”
Certainly Here’s a comprehensive, well-structured guide on repairing a water leak as a plumber. This article provides clear steps, essential tips, and useful information to help you address a water leak efficiently. Dealing with a water leak can be stressful and costly if not addressed promptly. Whether you’re a seasoned DIY enthusiast or a homeowner facing this issue for the first time, understanding the proper process is crucial. This guide walks you through every step involved in repairing a water leak, ensuring you handle the situation effectively and safely. You May Also Like: Average Shower Head Replacement Costs Including Labor Breakdown.
Understanding the Types of Water Leaks
Before diving into repairs, it’s important to identify what kind of water leak you’re dealing with. Different leaks require different approaches.
Common Types of Water Leaks:
-
- Pipe Leaks: Cracks or holes in household plumbing pipes.
-
- Fixture Leaks: Dripping faucets, toilets, or showerheads.
-
- Water Heater Leaks: Water dripping from or around the water heater.
-
- Appliance Leaks: Washing machines or dishwashers with faulty connections.
Essential Tools and Materials Needed
Gathering the right tools is key to efficient and safe repair. Here’s what you’ll typically need:
-
- Adjustable Wrench
-
- Screwdriver Set
-
- Pipe Wrench
-
- Plumber’s Tape (Teflon Tape)
-
- Replacement Pipes or Fittings
-
- Rubber Repair Tape or Epoxy Putty
-
- Bucket or Container (to catch leaking water)
-
- Cloths or Towels
-
- Flashlight
-
- Pipe Cutter or Hacksaw (if needed for cutting pipes)
-
- Pipe Insulation (optional, for prevention)
Step-by-Step Procedure for Repairing a Water Leak
Step 1: Identify the Source of the Leak
The first and most critical step is locating exactly where the leak originates:
-
- Turn off the water supply to prevent further damage. For most household leaks, locate the main water shut-off valve.
-
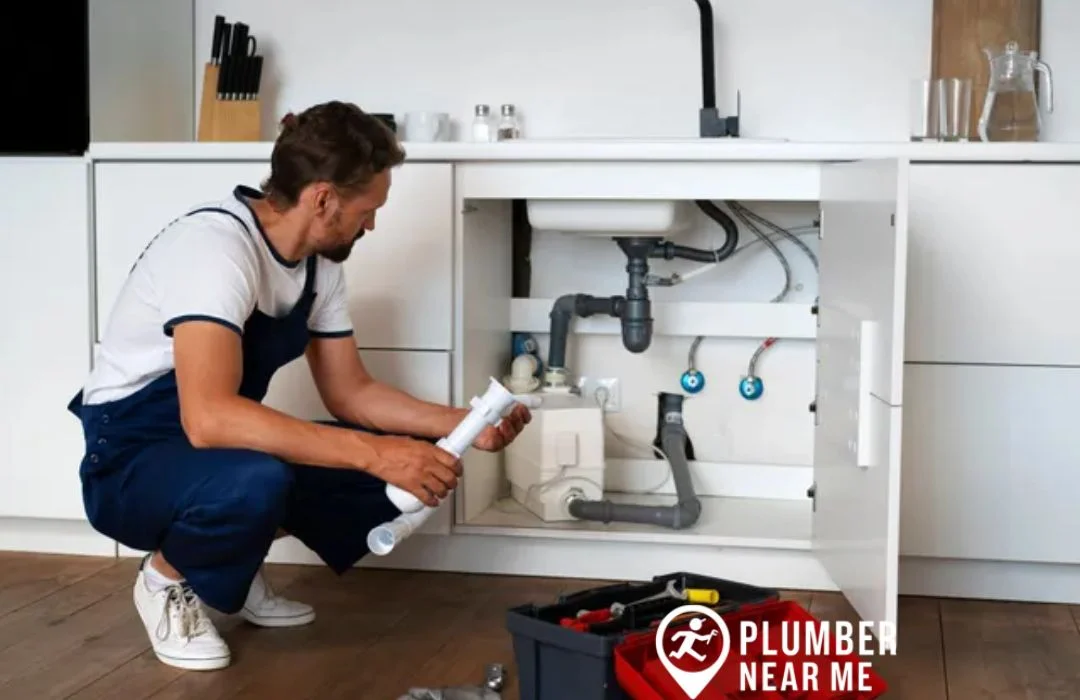
- Inspect visible pipes, fixtures, and appliances for signs of leakage—wet spots, dripping, or corrosion.
-
- Use a flashlight to look inside cabinets and behind appliances.
-
- If necessary, shut off individual fixtures to narrow down the source.
Step 2: Dry the Area
-
- Use towels or cloths to dry the affected area thoroughly.
-
- Identifying the source becomes easier when the area is dry.
Step 3: Assess the Damage and Decide on Repair Method
Depending on the leak’s severity and location:
-
- For minor leaks from fixtures, replacing washers or O-rings may suffice.
-
- For burst pipes or significant damage, more extensive repairs or pipe replacement might be necessary.
Step 4: Prepare Your Tools and Materials
-
- Gather all required tools and replacement parts.
-
- Ensure safety equipment is in place—gloves, goggles, etc.
Step 5: Turn off the Water Supply and Drain the System
-
- Shut off main water valve.
-
- Open the faucets connected to the pipes or fixture to drain residual water.
Step 6: Perform the Repairs
The specific steps vary depending on the type of leak:
A. Repairing a Dripping Faucet
-
- Disassemble the faucet using a screwdriver.
-
- Inspect the washer, O-ring, or cartridge.
-
- Replace worn parts.
-
- Reassemble and check for leaks.
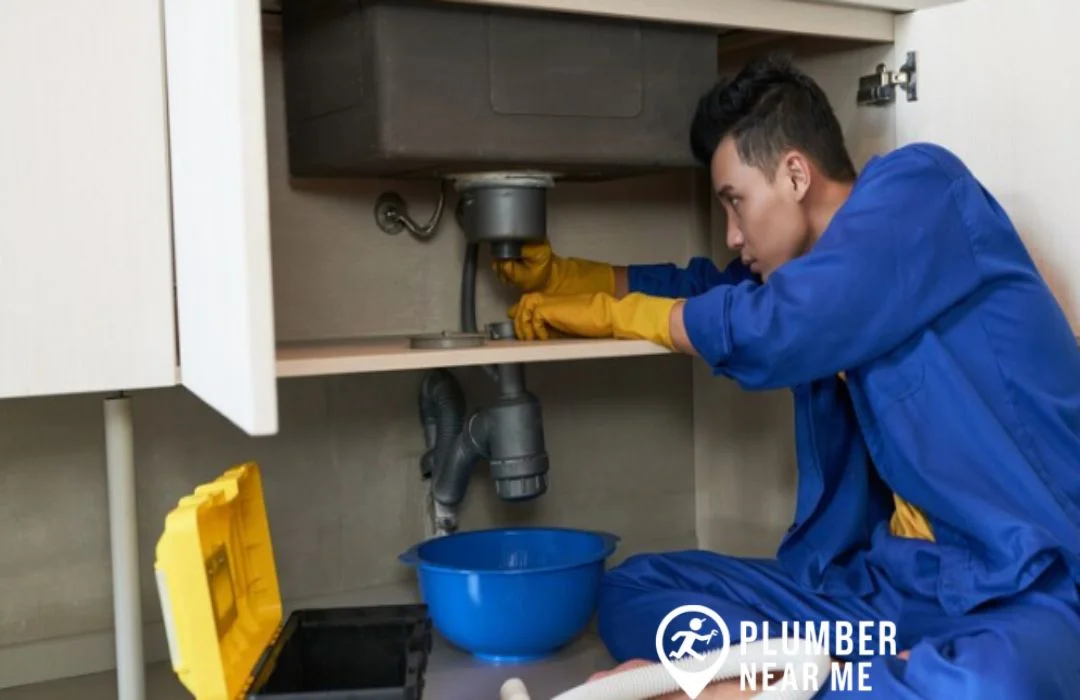
B. Fixing a Leaking Pipe
-
- Cut out the damaged section using a pipe cutter.
-
- Insert a new pipe segment or coupling.
-
- Secure fittings with plumber’s tape and tighten.
-
- For minor cracks, apply epoxy putty directly on the leak after drying.
C. Repairing Water Heater Leaks
-
- Inspect pressure relief valves and fittings.
-
- Replace faulty seals, valves, or tighten connections.
-
- If the tank itself is leaking, replacement may be necessary.
Step 7: Test Your Repair
-
- Turn the water supply back on slowly.
-
- Observe the repaired area for leaks.
-
- Use a dry cloth or paper towel to detect small drips.
-
- Allow water to flow and check again after a few minutes.
Step 8: Final Inspection and Clean-Up
-
- Once the leak is fixed, dry the area completely.
-
- Mop up any residual water and dispose of damaged parts properly.
-
- Confirm that all fixtures and fittings are secure.
Preventative Measures and Tips
-
- Regular inspections for early leak detection.
-
- Use high-quality fittings and pipes.
-
- Periodically flush and service appliances.
-
- Install leak detection devices in vulnerable areas.
-
- Consider applying pipe insulation to prevent freezing and cracking.
When to Call a Professional
While many minor leaks can be fixed with DIY methods, complex or persistent leaks require expert help.
Situations that warrant professional assistance:
-
- Leaks behind walls or under floors.
-
- Main water line issues.
-
- Replacing entire sections of plumbing.
-
- Uncertain about correct repair procedures.
For professional help, consider using a trusted, licensed plumber near me such as Plumber Near Me for reliable plumbing repair near me.
Conclusion
Repairing a water leak may seem daunting at first, but with the right knowledge, tools, and approach, you can often resolve minor leaks yourself. Safety first—always turn off the water supply before starting repairs, and don’t hesitate to contact a licensed plumber near me for complex issues. Prompt action not only preserves your property but also saves you money.
By following this step-by-step guide, you’re well-equipped to troubleshoot and fix water leaks quickly and effectively. Remember, regular maintenance and inspections can prevent future leaks, ensuring your plumbing system remains in excellent condition.
FAQs
Q1: How can I tell if I have a hidden water leak?
A1: Signs include rising water bills, damp spots on walls or ceilings, mold growth, or a musty smell. You can also perform a simple leak test by turning off all water fixtures and noting if the meter changes.
Q2: Is it safe to repair plumbing leaks myself?
A2: Minor leaks like dripping faucets or small pipe drips can typically be handled with basic skills. However, for complex or hidden leaks, it’s safer and more effective to hire a professional plumber.
Q3: How much does it typically cost to repair a water leak?
A3: Costs vary depending on leak severity and location. Minor repairs might cost $100–$300, while extensive repairs or replacements could be $500 or more. Always get a quote from a reputable local plumber.
Q4: How can I prevent future water leaks?
A4: Regular inspections, timely repairs, using quality fittings, and installing leak detectors can prevent future issues.
Q5: When should I call a 24-hour plumber?
A5: For emergencies like burst pipes, flooding, or significant leaks occurring outside regular hours, contact a 24 hour plumber near me immediately.
Remember, for reliable plumbing services near me, professional leak repair and emergency plumbing help is just a click away with Plumber Near Me. Don’t delay—address water leaks promptly for peace of mind!
Call Now for More Information
Water leaks can cause serious damage to your property if left untreated. Whether it’s a dripping faucet, a leaking pipe, or a hidden slab leak, prompt attention is key. Our complete guide walks you through professional techniques used by plumbers to detect and fix leaks efficiently—saving you time, money, and stress.
Still unsure about tackling a leak on your own? Our licensed plumbers are available to help. We use advanced tools and proven methods to locate leaks and perform lasting repairs. No guesswork, no unnecessary damage—just reliable, expert service when you need it most.
Don’t let a small leak turn into a big problem. Call now for more information or to schedule a consultation with one of our plumbing specialists. We’re here to provide trusted guidance and hands-on support, ensuring your plumbing system stays leak-free and fully functional.


