Showering should be relaxing—not risky. If you’ve ever experienced a sudden burst of scalding hot water because someone flushed the toilet or turned on the dishwasher, you already know how dangerous it can be. That’s where an anti scald valve shower comes in. You May Also Like: Ask a Plumber.
This guide will walk you through everything you need to know about these essential plumbing devices, from how they work and why they matter to a step-by-step installation guide and pro tips from plumbers. Whether you’re a DIY homeowner or considering hiring a pro, this article covers it all.
👉 Need professional help? Visit Plumber Near Me to get expert installation of anti scalding shower valves.
What is an Anti Scald Valve Shower?
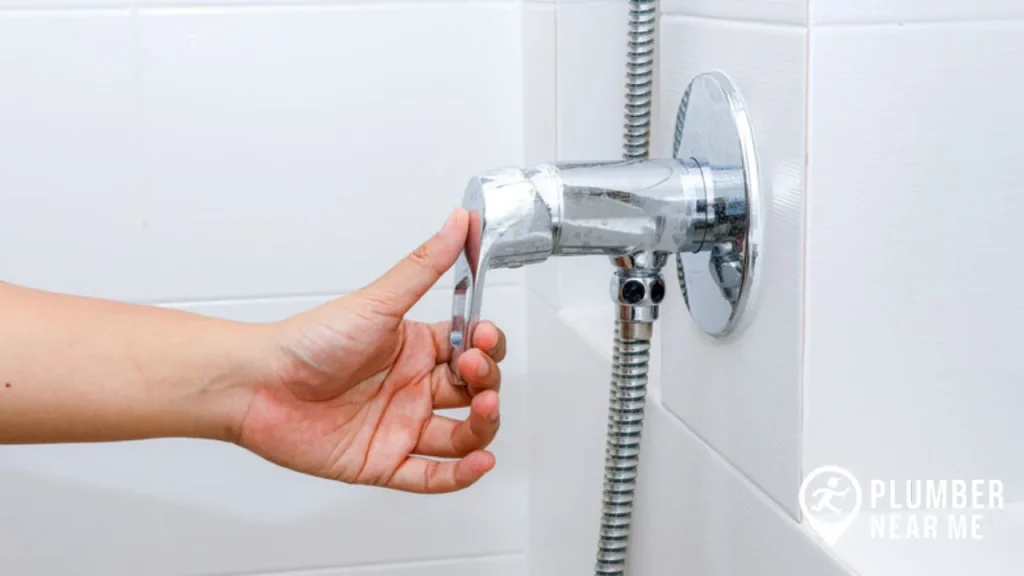
An anti scald valve shower—sometimes called a shower anti scald device or pressure-balance valve—is a plumbing device that keeps your shower water at a safe, steady temperature. It balances the pressure between hot and cold water supplies, preventing dangerous spikes.
How It Works:
- If someone flushes the toilet and cold water pressure drops, the valve reduces hot water flow to keep the temperature steady.
- If hot water pressure drops (e.g., washing machine kicks in), it prevents the water from suddenly going ice-cold.
Why You Need an Anti-Scalding Shower Valve
- Comfort – No more sudden hot/cold surprises mid-shower.
- Code Compliance – Many building codes now require an anti scald device for shower installations.
- Increased Home Value – A safety feature buyers appreciate.
- Energy Efficiency – Helps avoid unnecessary reheating adjustments.
Types of Anti Scald Devices for Showers
- Pressure-Balancing Valves
- Regulates water by balancing hot and cold pressure.
- Most common type.
- Thermostatic Mixing Valves
- Uses a thermostat to control temperature precisely.
- More advanced and usually more expensive.
- Anti-Scald Faucet Attachments
- Budget-friendly, but less reliable than full valve replacements.
Tools & Materials You’ll Need
- Pipe wrench & pliers
- Pipe cutter or reciprocating saw
- Oscillating multi-tool (to cut wall access)
- Propane torch & flux (for soldering copper pipes)
- Screwdrivers & hammer
- Safety gear: gloves, goggles, extinguisher
- Digital thermometer
- New anti scalding shower valve kit (with cover plate & trim)
Step-by-Step Installation Guide
Step 1: Preparation
✅ Turn off the main water supply.
✅ Cover the drain to catch small parts.
✅ Put on gloves and safety glasses.
✅ Gather all tools—you don’t want to stop mid-job.
2: Remove the Old Shower Valve
- Take off the shower handle and trim plate.
- Use a faucet handle puller if stuck.
- Cut into the wall behind the valve (often via closet access).
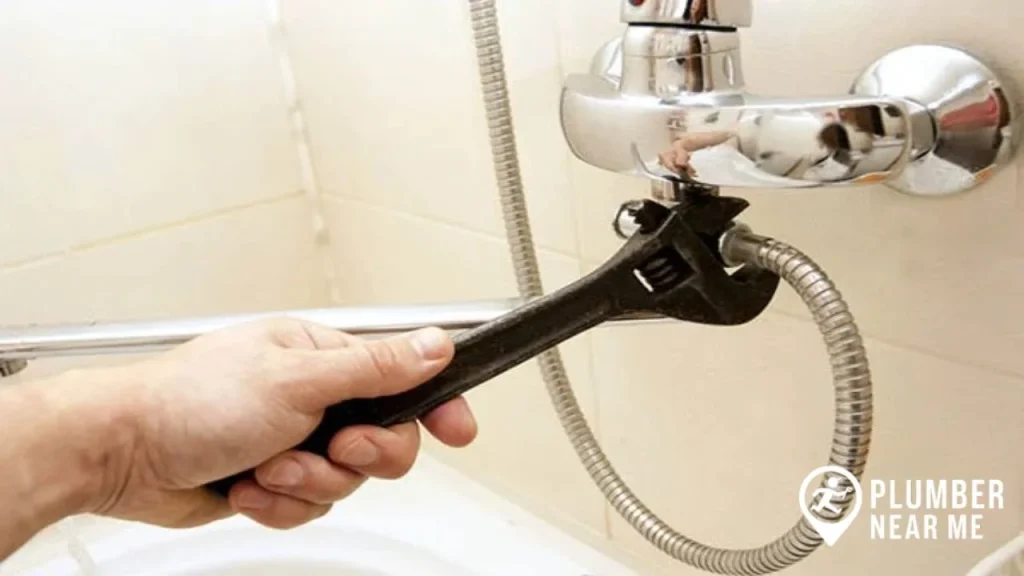
- Disconnect the hot, cold, and diverter pipes with a pipe wrench.
- Remove the old valve body.
3: Install the New Anti-Scald Valve
- Dry-fit the new valve to check alignment.
- Apply flux to copper pipes.
- Remove the internal cartridge (to protect from soldering heat).
- Solder connections carefully.
- Allow everything to cool and reinstall the cartridge.
4: Test the Installation
- Slowly turn water supply back on.
- Inspect solder joints for leaks.
- Run shower and check temperature stability with thermometer.
5: Adjust the Temperature Limit
- Turn on the hot water fully.
- Measure with a thermometer.
- Adjust safety screw until max temp is 120°F (49°C).
- Re-test until consistent.
6: Finishing Touches
- Apply plumber’s putty and install escutcheon plate.
- Attach handle and trim pieces.
- Clean up excess putty and polish.
Costs of Installing an Anti Scald Shower Valve
| Installation Type | DIY Cost | Pro Plumber Cost |
|---|---|---|
| Basic Valve Replacement | $100 – $200 | $350 – $600 |
| Thermostatic Valve | $150 – $350 | $500 – $900 |
| Full Shower Remodel | $500+ | $1,000+ |
💡 Pro Tip: If you’re already remodeling your bathroom, upgrading to an anti scalding shower valve is much easier and more cost-effective.
Maintenance Tips for Longevity
- Check annually for leaks and temperature consistency.
- Clean cartridges if mineral buildup occurs.
- Replace worn trim for cosmetic appeal.
- Flush pipes if water flow decreases.
Pros & Cons of Anti Scald Shower Valves
✅ Pros
- Safer showers for all ages.
- Meets plumbing codes.
- Consistent water comfort.
- Increases home value.
❌ Cons
- More expensive than basic valves.
- Professional installation may be required.
- Slightly more parts to maintain.
FAQs About Anti-Scald Valves
1. What is the purpose of an anti scald valve shower?
It keeps shower temperature stable and prevents burns caused by sudden hot water spikes.
2. Is a shower anti scald device required by law?
Yes, in many U.S. states and Canadian provinces, plumbing codes mandate anti-scald protection.
3. Can I install an anti scald device for shower myself?
Yes, if you’re comfortable with mid-level plumbing tasks. Otherwise, hiring a plumber is safer.
4. How long does an anti scalding shower valve last?
Typically 8–15 years, depending on water quality and maintenance.
5. What’s the difference between a pressure-balance and thermostatic valve?
Pressure-balance maintains steady pressure, while thermostatic valves regulate temperature more precisely.
Final Thoughts
An anti scald valve shower is more than just a modern upgrade—it’s a smart investment in safety, comfort, and compliance. Whether you DIY or call in a professional, upgrading to an anti scald device for shower ensures you’ll never have to worry about dangerous temperature swings again.
If you’d rather skip the hassle, Plumber Near Me offers professional installation and replacement of anti scalding shower valve.